Parkour, the urban art of movement, is more than just a sport – it's a lifestyle that encourages fluidity, agility, and adaptability. Whether you're a seasoned traceur (practitioner of parkour) or an aspiring free runner, creating a safe space to hone your skills is vital. In this blog post, we'll take you through how our Parkour Rubber Flooring Tiles can help you create a safe and efficient parkour playground.
Why Parkour Rubber Flooring Tiles?
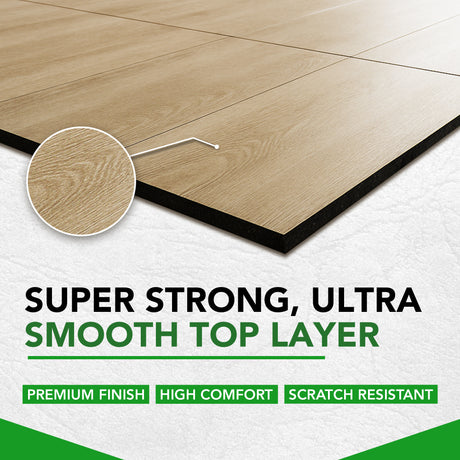
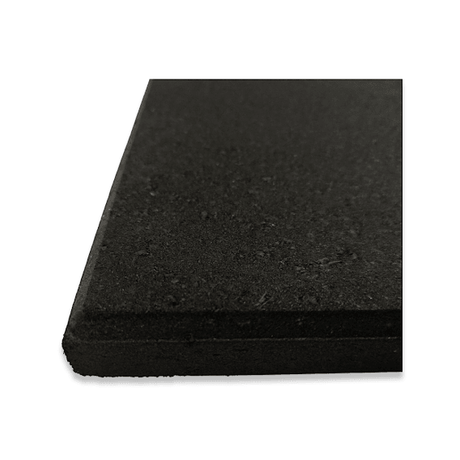
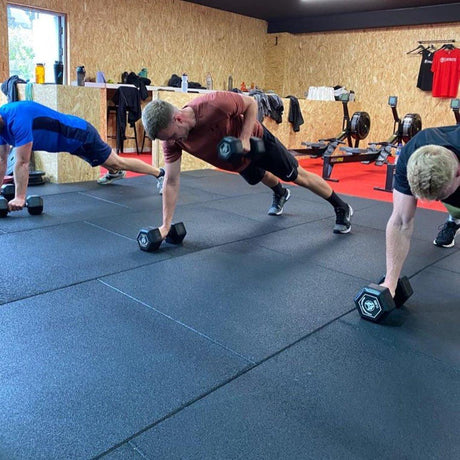
Safety is the top priority when practicing parkour. High-impact jumps, flips, and vaults can put significant stress on your joints, and occasional falls are a part of the learning process. Our Parkour Rubber Flooring Tiles provide a protective, shock-absorbent surface to lessen the impact, reducing the risk of injury and ensuring safe landings.
These tiles aren't just about safety; they're designed with performance in mind. The non-slip surface provides excellent grip, allowing you to perform movements with confidence and precision.
Building Your Own Parkour Playground
Creating a parkour space at home or in your community can be a fun and rewarding project. Here are a few steps you can follow:
-
Design Your Space: First, consider your available space and the skills you want to practice. Incorporate a range of elements such as bars, walls, and blocks to provide opportunities for different movements.
-
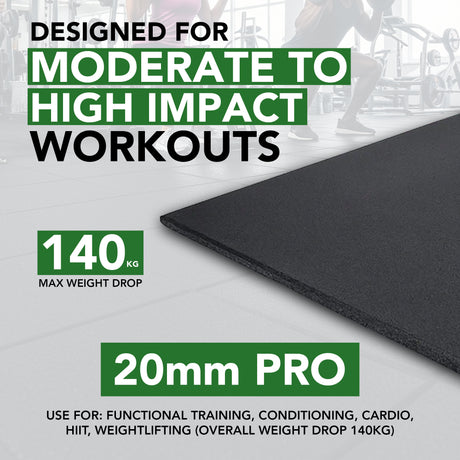
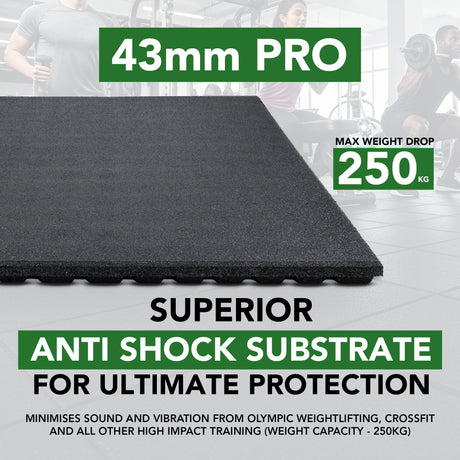
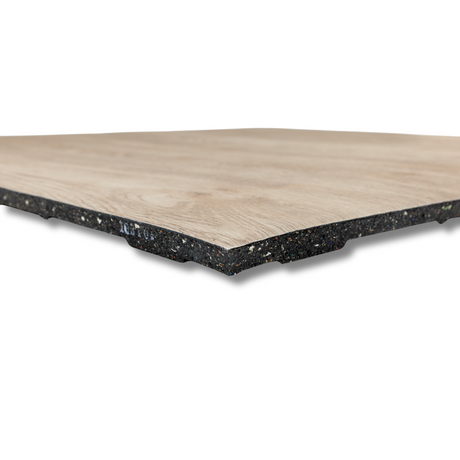
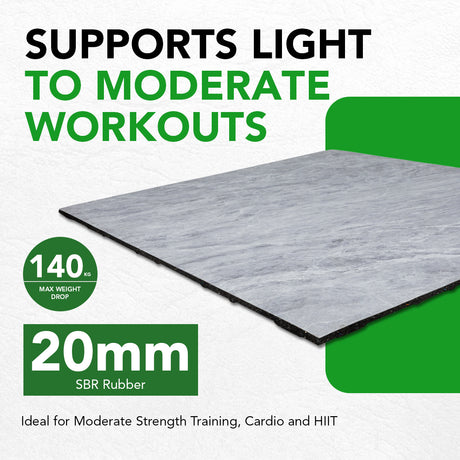
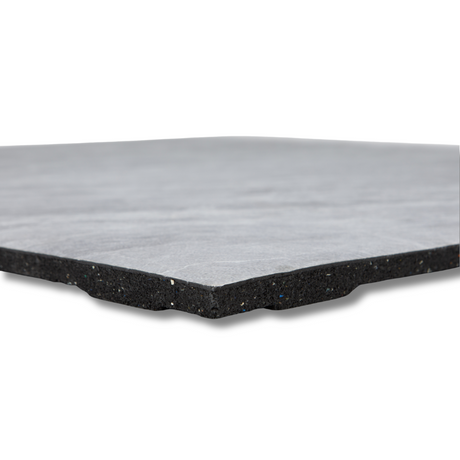
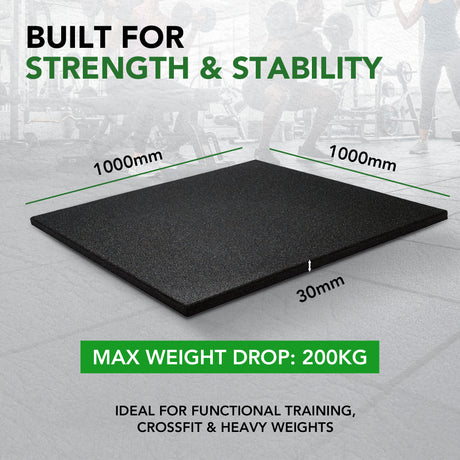
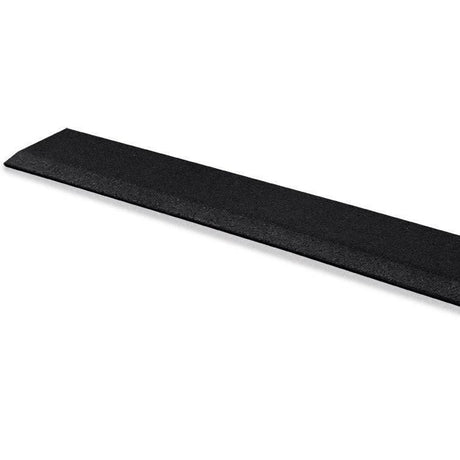
Choose Your Tiles: Our Parkour Rubber Flooring Tiles come in different thickness levels to suit your needs. The thicker the tile, the higher the shock-absorption capacity. Consider the level of impact from your activities when choosing your tiles.
-
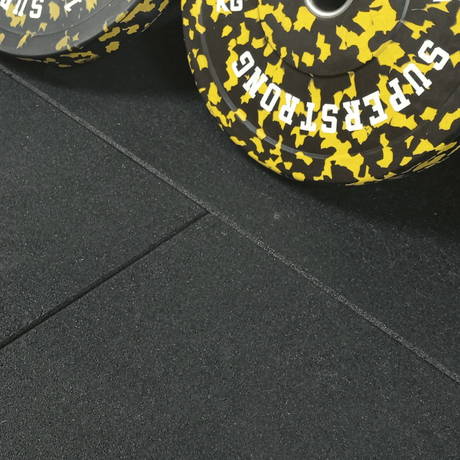
Install Your Tiles: Installing your tiles is a simple DIY task. Begin by cleaning the area thoroughly. Position the tiles, ensuring they fit together snugly like a jigsaw puzzle. Then, adhere the tiles to the ground using a suitable adhesive. For outdoor use, be sure to secure the tiles well to prevent them from shifting due to weather conditions.
-
Test Your Playground: Now it's time to put your playground to the test. Practice different moves to ensure the grip and shock absorption of the tiles meet your needs.
Maintaining Your Parkour Rubber Flooring Tiles
Maintenance of our Parkour Rubber Flooring Tiles is straightforward. Regularly clean them with a gentle detergent and water to keep them in the best condition. The tiles are weather-resistant, making them suitable for both indoor and outdoor parkour spaces. However, like any outdoor material, they will last longer if properly cared for and protected from extreme weather conditions.
Conclusion
Parkour Rubber Flooring Tiles are a game-changer for anyone passionate about parkour. Not only do they enhance safety, but they also allow for improved performance and longer practice sessions. Investing in these tiles means investing in your passion for parkour and your wellbeing, allowing you to pursue this exciting sport with peace of mind. Whether you're a seasoned professional or just starting out, our tiles will be an indispensable part of your parkour journey. So, are you ready to jump, flip, and vault into a safer parkour practice?
Stay safe, and keep moving!

