Welcome! Today, we embark on an exciting journey into the realm of innovative flooring solutions. Have you ever envisioned transforming your space with a touch of creativity? Well, you're in for a treat as we dive into the step-by-step process of installing puzzle tiles to revamp your home or workspace. Whether it's a vibrant play area, a cosy home gym, or simply a room that needs a unique touch, this tutorial will guide you through the process.

Unraveling the Potential of Puzzle Tiles
Puzzle tiles are not just flooring; they're an expression of individuality and style. With their easy-to-install nature and versatility, these tiles offer a plethora of design possibilities. Today, we're unleashing the potential of these interlocking wonders and empowering you to create a space as unique as you are.
Getting Started: What You'll Need
Before we embark on this DIY adventure, let's gather our tools:
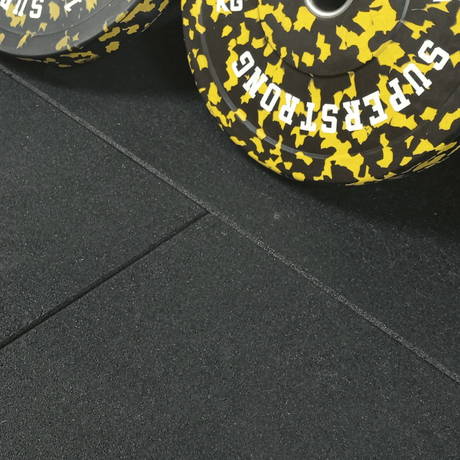
- Puzzle Tiles: Select your preferred colours, textures, and sizes.
- Measuring Tape: Accurate measurements are key.
- Utility Knife: For precision cutting.
- Rubber Mallet: To ensure a snug fit.
- Straight Edge: Ensures straight cuts for a polished finish.
- Cleaning Materials: Prep the area for installation.
- Safety Gear: Gloves and knee pads for comfort and safety.


![20mm Java Black Rubber Gym Flooring Tiles with Recycled Coffee Grounds [Pre-Order] GYM FLOORING Sprung Gym Flooring](http://www.gym-flooring.com/cdn/shop/files/Title_2.png?v=1773994895&width=460)