[UPDATED in 2025]
When choosing gym flooring tiles there are several options to consider. Installation is quick and easy. Depending on your space, budget and type of flooring you can either go DIY or hire a professional. Knowing the installation methods will help you decide what’s best for you.
Table of Contents
How Do You Fit Gym Floor Tiles?
3 Ways to Fit Gym Flooring Tiles
How to Take Care of Your Gym Flooring Tiles
What are Gym Flooring Tiles?
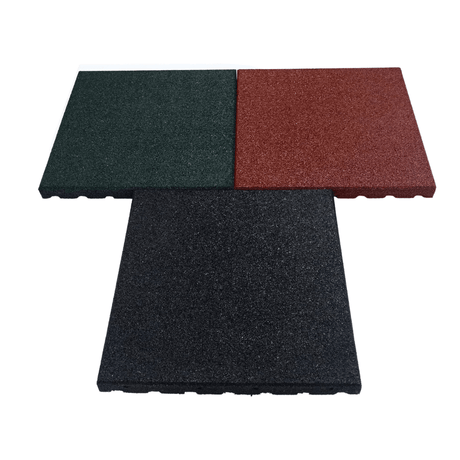
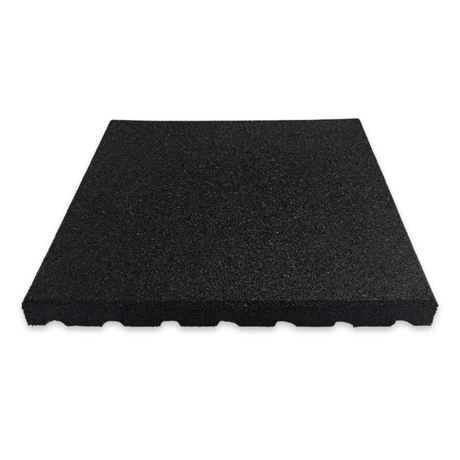
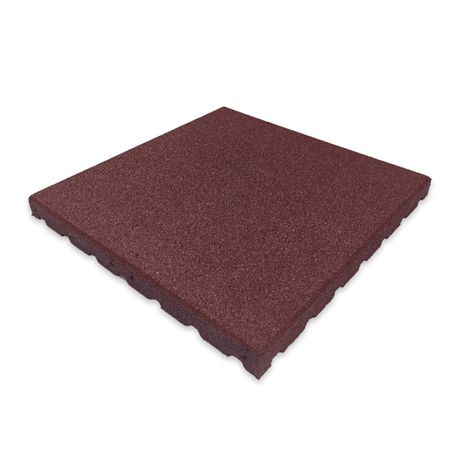
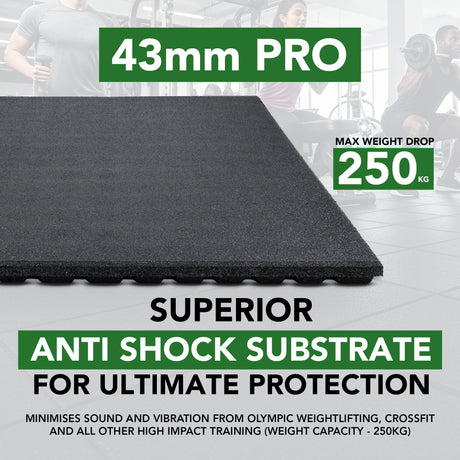
Gym rubber floor tiles are typically 1m x 1m square floor mats made of durable materials such as rubber, foam, or vinyl. They are designed to provide stability and cushioning for high-impact activities like weightlifting, cardio exercises, and other fitness routines. These tiles come in a variety of sizes, shapes, and colours to fit different spaces and preferences.
Additionally, gym flooring tiles offer several benefits. They are easy to clean, resistant to wear and tear, and can provide a non-slip surface for safety during workouts. Likewise, they can protect the underlying floor from damage caused by heavy equipment or weights.
How Do You Fit Gym Floor Tiles?

As you evaluate your main requirements, environment, and budget, you can begin to pinpoint the ideal gym floor tiles for your project. However, another key aspect to consider is the installation process. Some gym flooring tiles are incredibly straightforward to install, while others may demand some expertise and physical effort. The way you install the tiles depends on the material type and the space where they will be placed.
For a home gym, it's best to select rubber tiles that are easy to install without needing professional assistance. In contrast, a commercial gym must ensure that all tiles and rolls are securely fitted and safe for members. Tiles that shift or have seams could become a tripping hazard, posing a potential risk to users.
Gym floor tiles tend to be quite heavy, with thicker tiles offering greater shock absorption and added weight. From straight-edged tiles to interlocking puzzle mats, EVA foam tiles, gym flooring tiles, home gym matting, and artificial turf, there's a wide array of options to explore. Regardless of the gym tile you select, ensuring proper installation is crucial for safe workouts and peak performance.
3 Ways to Fit Gym Flooring Tiles
Whether you’re a DIY person or someone who avoids hands on tasks around the house you can install gym flooring tiles your way. There are installation methods for home gyms, commercial gyms, outdoor garden gyms or even a workout space in the corner of your living room.
Choose the installation method based on whether you want a permanent setup or a temporary fitness area. Here are 3 ways to install gym flooring tiles.

1. Self-Locking
Interlocking gym rubber tiles are available in various thicknesses, yet the installation process is consistent across the board. Konnecta self-locking gym mats feature a unique design that allows for easy assembly by using hidden connector pieces between each tile. Depending on your requirements, you can also secure them with adhesive although this is not necessary.
Alternatively, interlocking puzzle mats are another option. These tiles fit together like puzzle pieces, forming a seamless flooring surface. They are ideal for activities involving lighter impacts, where heavy weights aren't in use.
2. Loose Lay or Compression Method
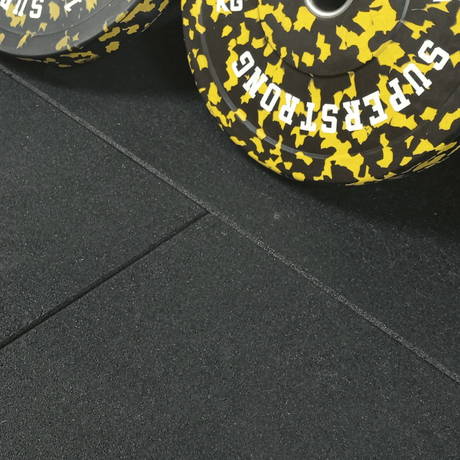
One of the benefits of Sprung gym flooring tiles is their weight, no adhesive is required. The tiles are heavy enough to be laid loose without compromising performance, good if you don’t want to apply adhesive to the subfloor but still want to protect your body, flooring and equipment.
Sprung’s gym tiles will stay in place due to their weight for maximum stability. Or you can fit the tiles using the compression method where you slightly overlap the tiles and then compress together without adhesive.
For a step by step guide see our video tutorial which shows how to fit gym tiles in a simple way.
Customer Feedback:
“I’m no handyman so needed some kind of guide to lay my garage tiles. The Sprung Gym-Flooring video tutorial is brilliant and made it easy for me to do, even for me!
3. Adhesive
The third method is to use adhesive during installation, which is more suitable for commercial gyms and areas with rubber fitness rolls. While Sprung tiles don’t need adhesive we do recommend applying a small amount for a permanent and long lasting foundation.
When choosing the right gym flooring it’s important to consider the installation process. Gym tiles should be heavy enough to provide structure and support for the user. Whether you choose simple, lightweight foam tiles with puzzle style interlocking edges, commercial grade weight room mats or robust self-locking rubber gym tiles it will depend on your budget, space and environment.
How to Take Care of Your Gym Flooring Tiles
Gym flooring tiles are an investment and proper maintenance is key to their longevity. Here’s how to take care of your gym floor tiles:
- Clean the surface with mild detergent and warm water.
- Don’t use harsh chemicals or abrasive cleaners that can damage the tiles.
- Clean up spills immediately to prevent staining or slipping.
- Use non-slip mats under heavy equipment to prevent denting or damage to the tiles.
- Check the tiles regularly for wear and tear especially around high use areas like weight stations or cardio machines.
- Replace damaged tiles as soon as possible to keep your gym floor safe and functional.

Final Thoughts
FAQs
How do I install rubber gym flooring on a sub floor?
To install rubber gym flooring on a sub floor clean the sub floor and make sure it’s level. Follow our simple step by step guide.
What tools do I need to install rubber gym flooring in a brick pattern?
When installing rubber gym flooring in a brick pattern you will need basic tools like a utility knife for cutting, a straight edge for alignment, a ruler, pencil and adhesive (if being used). This will keep the rubber floor stable and the pattern intact over time.
Can I install rubber floor tiles without professional help?
Yes, you can install rubber floor tiles without professional help. Prepare the floor surface, lay the tiles in your desired pattern, use a utility knife for any cuts and a straight edge to keep the lines clean. This is a simple and easy process even for a beginner. Check out our Tutorials & Product Videos for more details.
How do I get a tight fit when installing rubber flooring?
To get a tight fit when installing rubber flooring make sure the sub floor is clean. Use rubber mats or tiles to cover the area and a steel strip screwed along the perimeter for extra security. The precise installation of rubber floor tiles (usually in a brick pattern) will keep the flooring in place and durable.